Final stage
Paint-ready means the painter finds nothing
Level sanding, dust removal, spot priming and a raking-light check so the finished coat lands evenly across old and new surface alike.
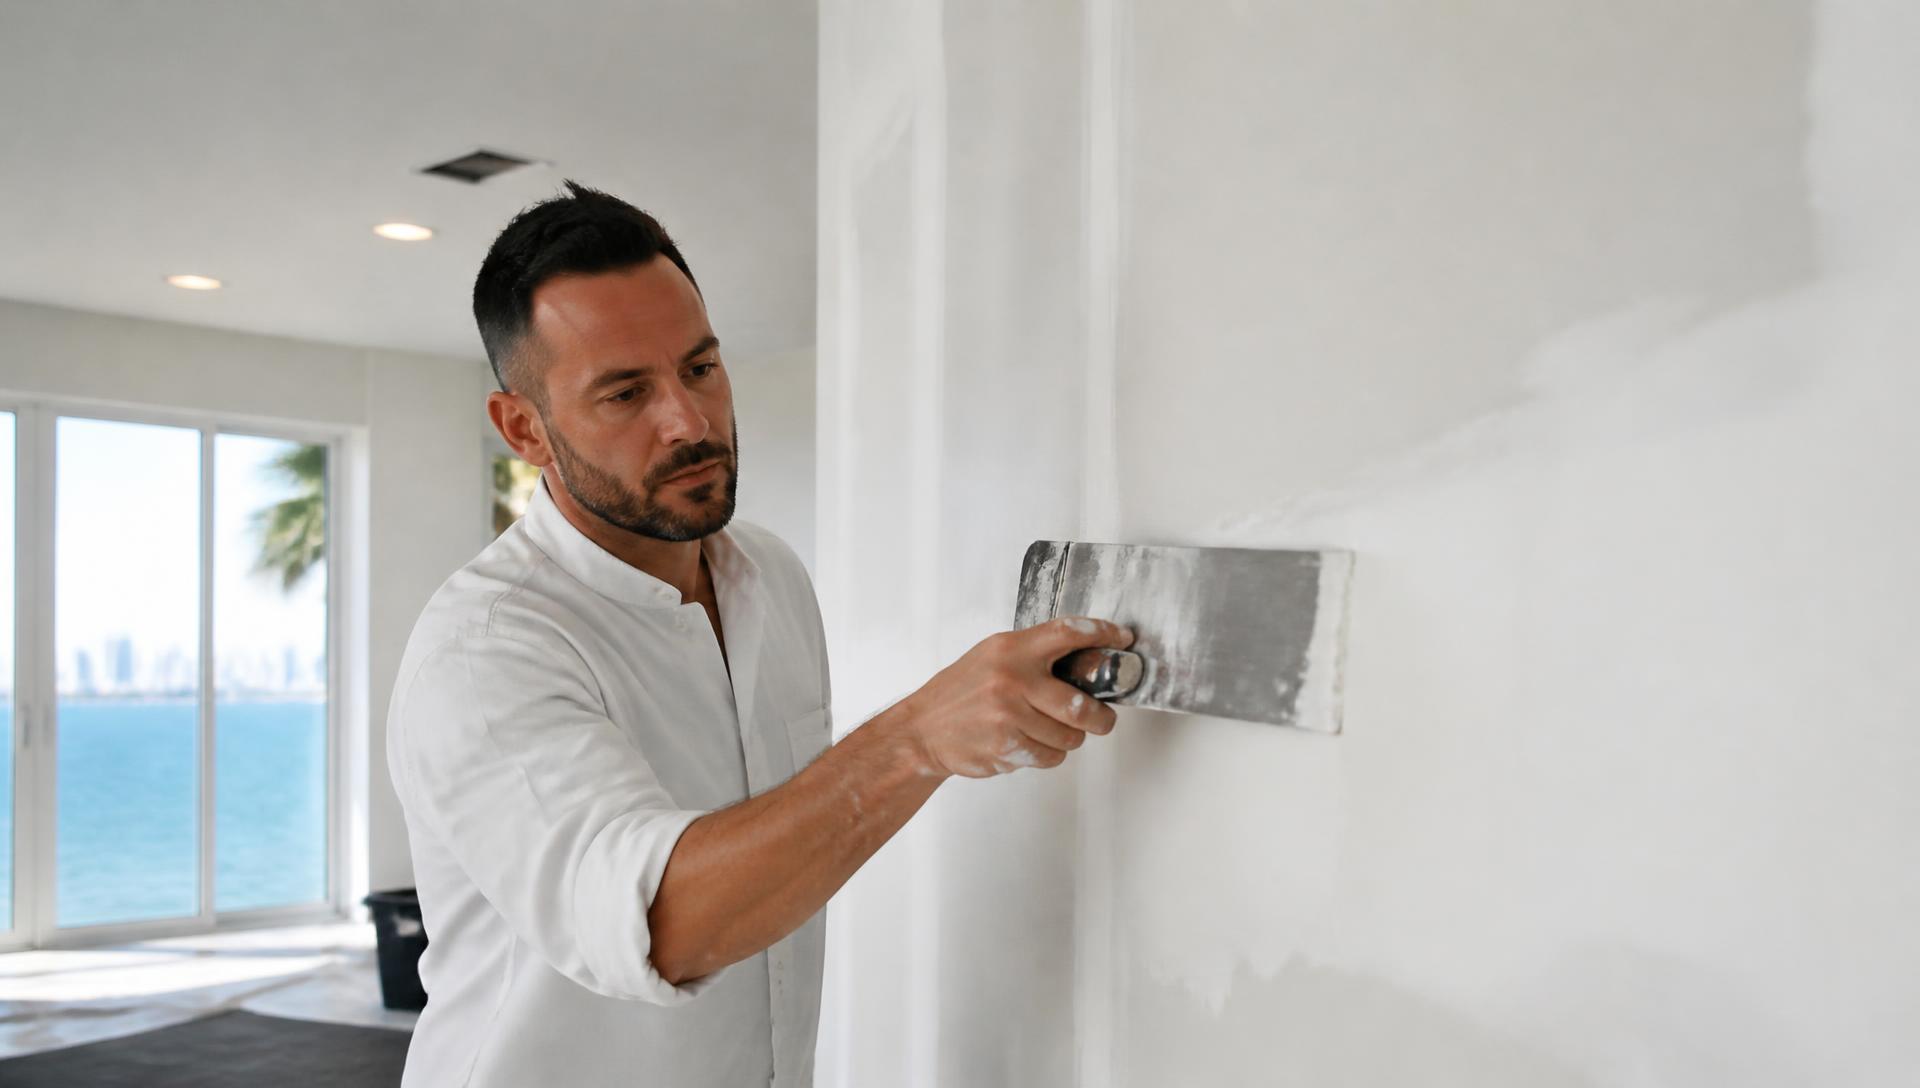
What this covers
Scope of the work
Level sanding
Compound sanded flush without cutting into face paper.
Dust control
Containment during sanding and a full wipe-down after.
Spot priming
Fresh compound sealed so paint does not flash.
Light check
Surface reviewed under raking light before sign-off.
Prep sequence
Sand
Level compound to the wall face.
Dust
Vacuum and wipe before anything else.
Spot prime
Seal each repaired area.
Inspect
Raking-light check for hollows and ridges.
Hand off
Surface ready for finish paint.
Diagram is a simplified concept, not a specification.
Sequence
How the repair runs
- 01
Sand
Bring every coat flush with the surrounding face.
- 02
Clean
Vacuum and wipe the surface and surrounding room.
- 03
Prime
Seal compound and texture so absorption is even.
- 04
Review
Raking-light pass to catch anything left proud or hollow.
Photo gallery
Related concept visuals
Labeled illustrations of the condition change this work targets. Concept visuals only — not completed customer projects.
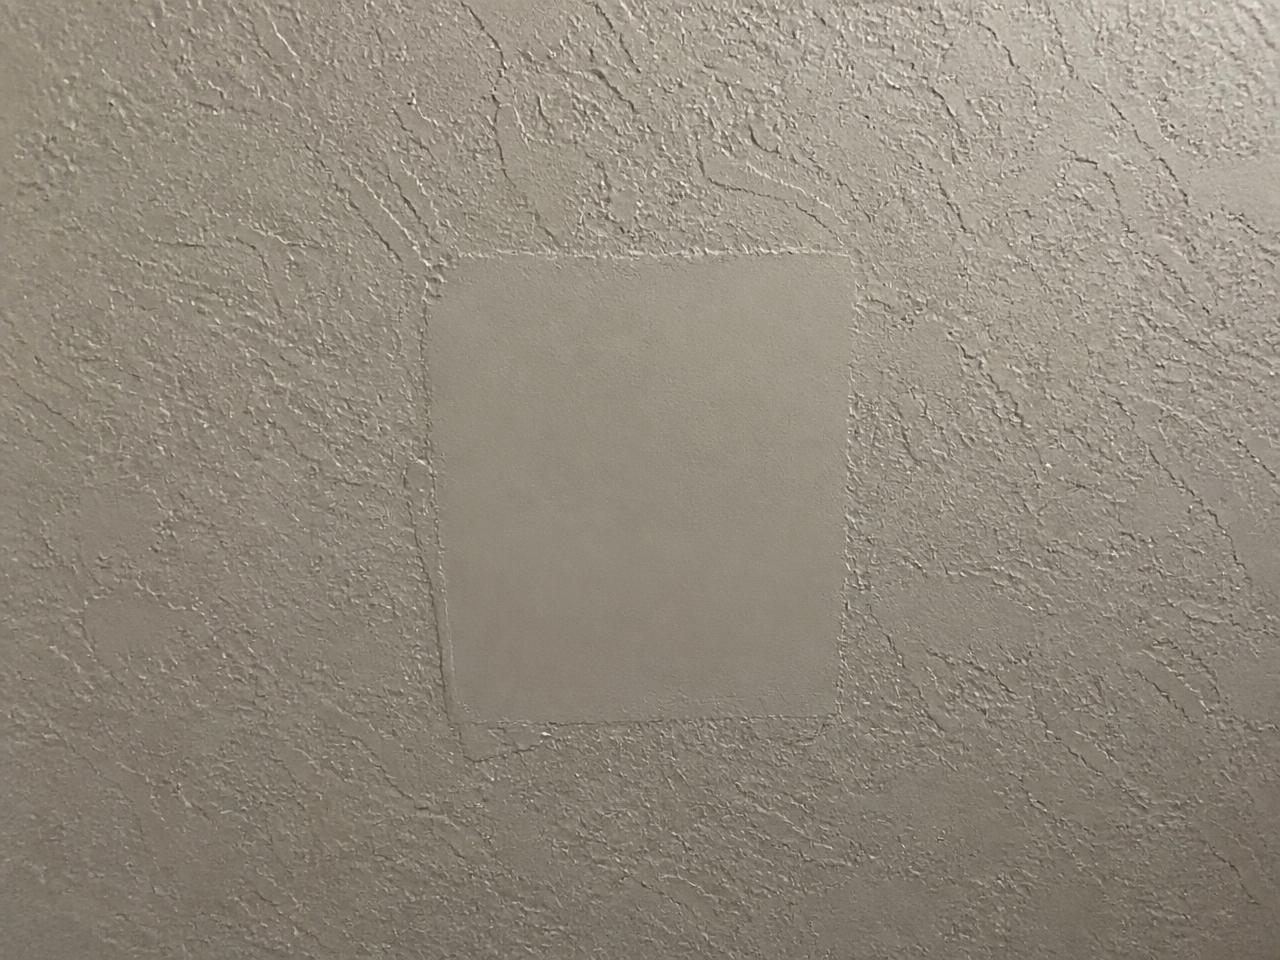 Before
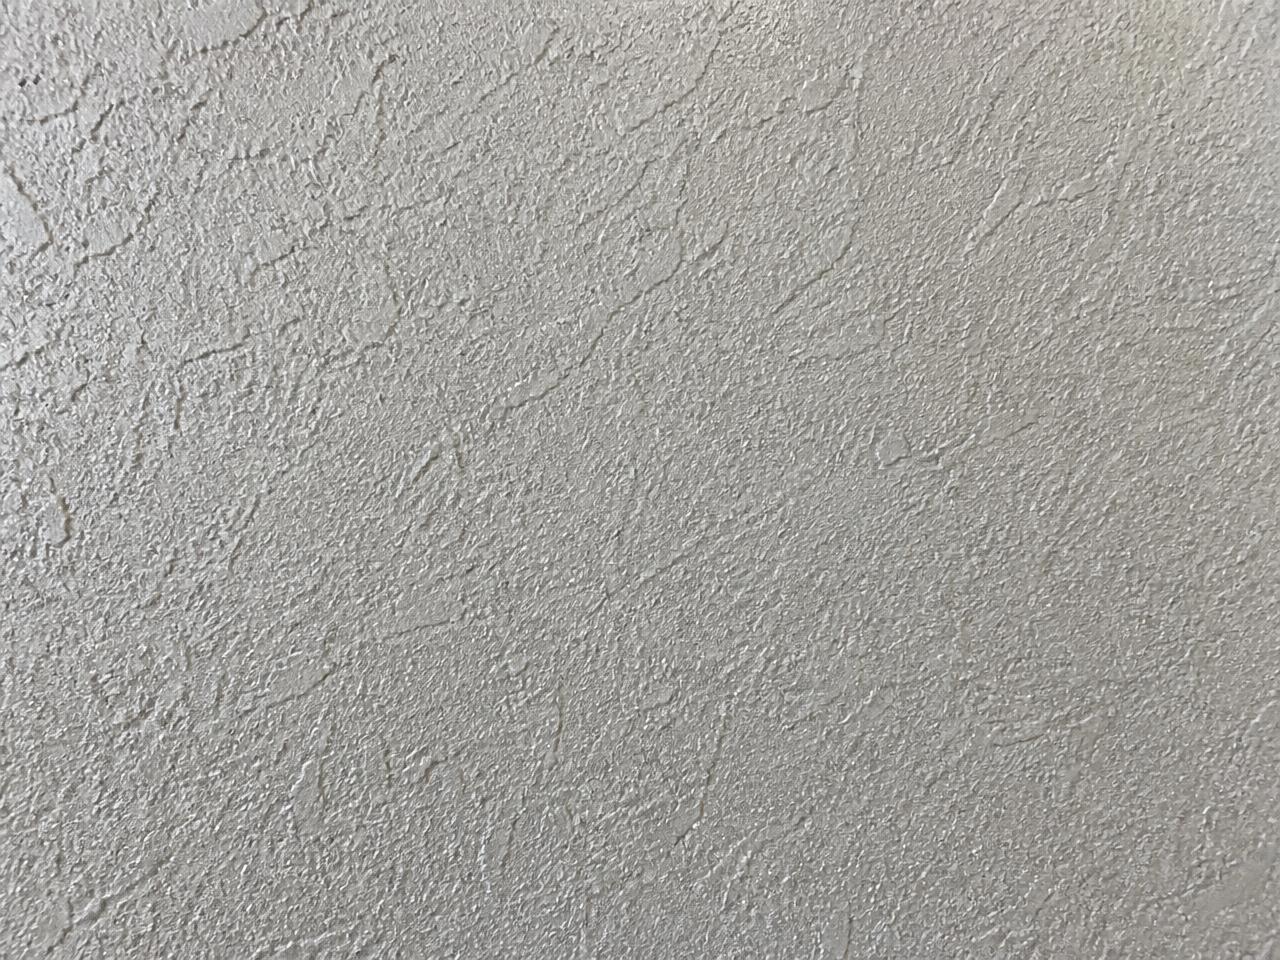 After
After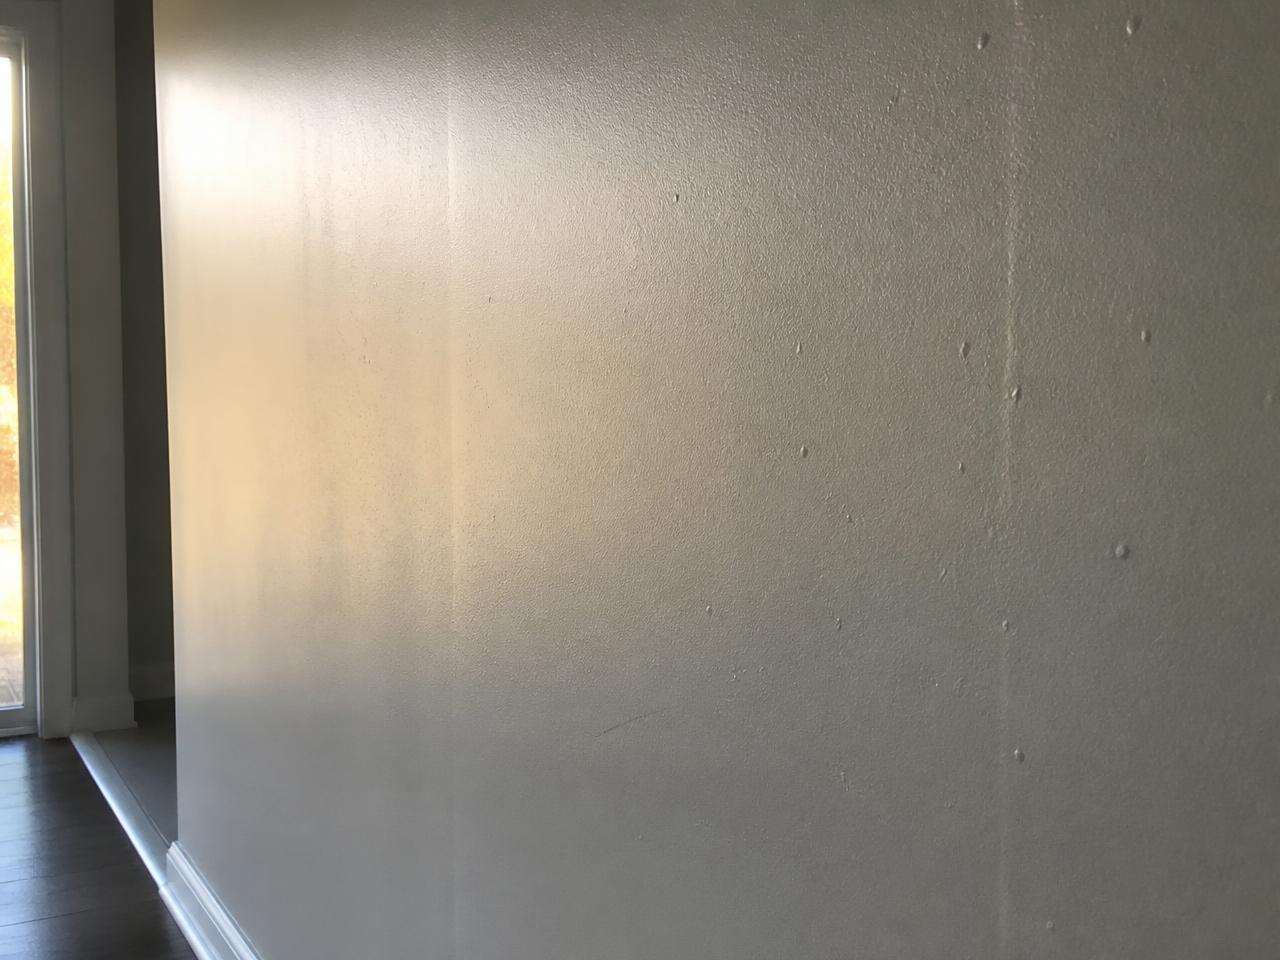 Before
 After
AfterQuestions
Frequently asked
- What counts as paint-ready?
- Repairs sanded flush, texture matched, dust removed, and compound spot-primed so the surface takes paint evenly rather than flashing at the patch.
- Do you paint the wall as well?
- The work here ends at prep. Ask in the Assistant about scope and it can route the request appropriately.
- How is dust handled?
- Containment and vacuum-assisted sanding where practical, plus a full wipe-down before priming.
Ready to get it patched?
Describe the damage in the Assistant and it will handle estimates and scheduling. Direct calls are welcome too.
Serving Miami-Dade County, Florida