Method
From first message to paint-ready
A repeatable sequence. Every step exists to keep the finished surface from betraying where the damage was.
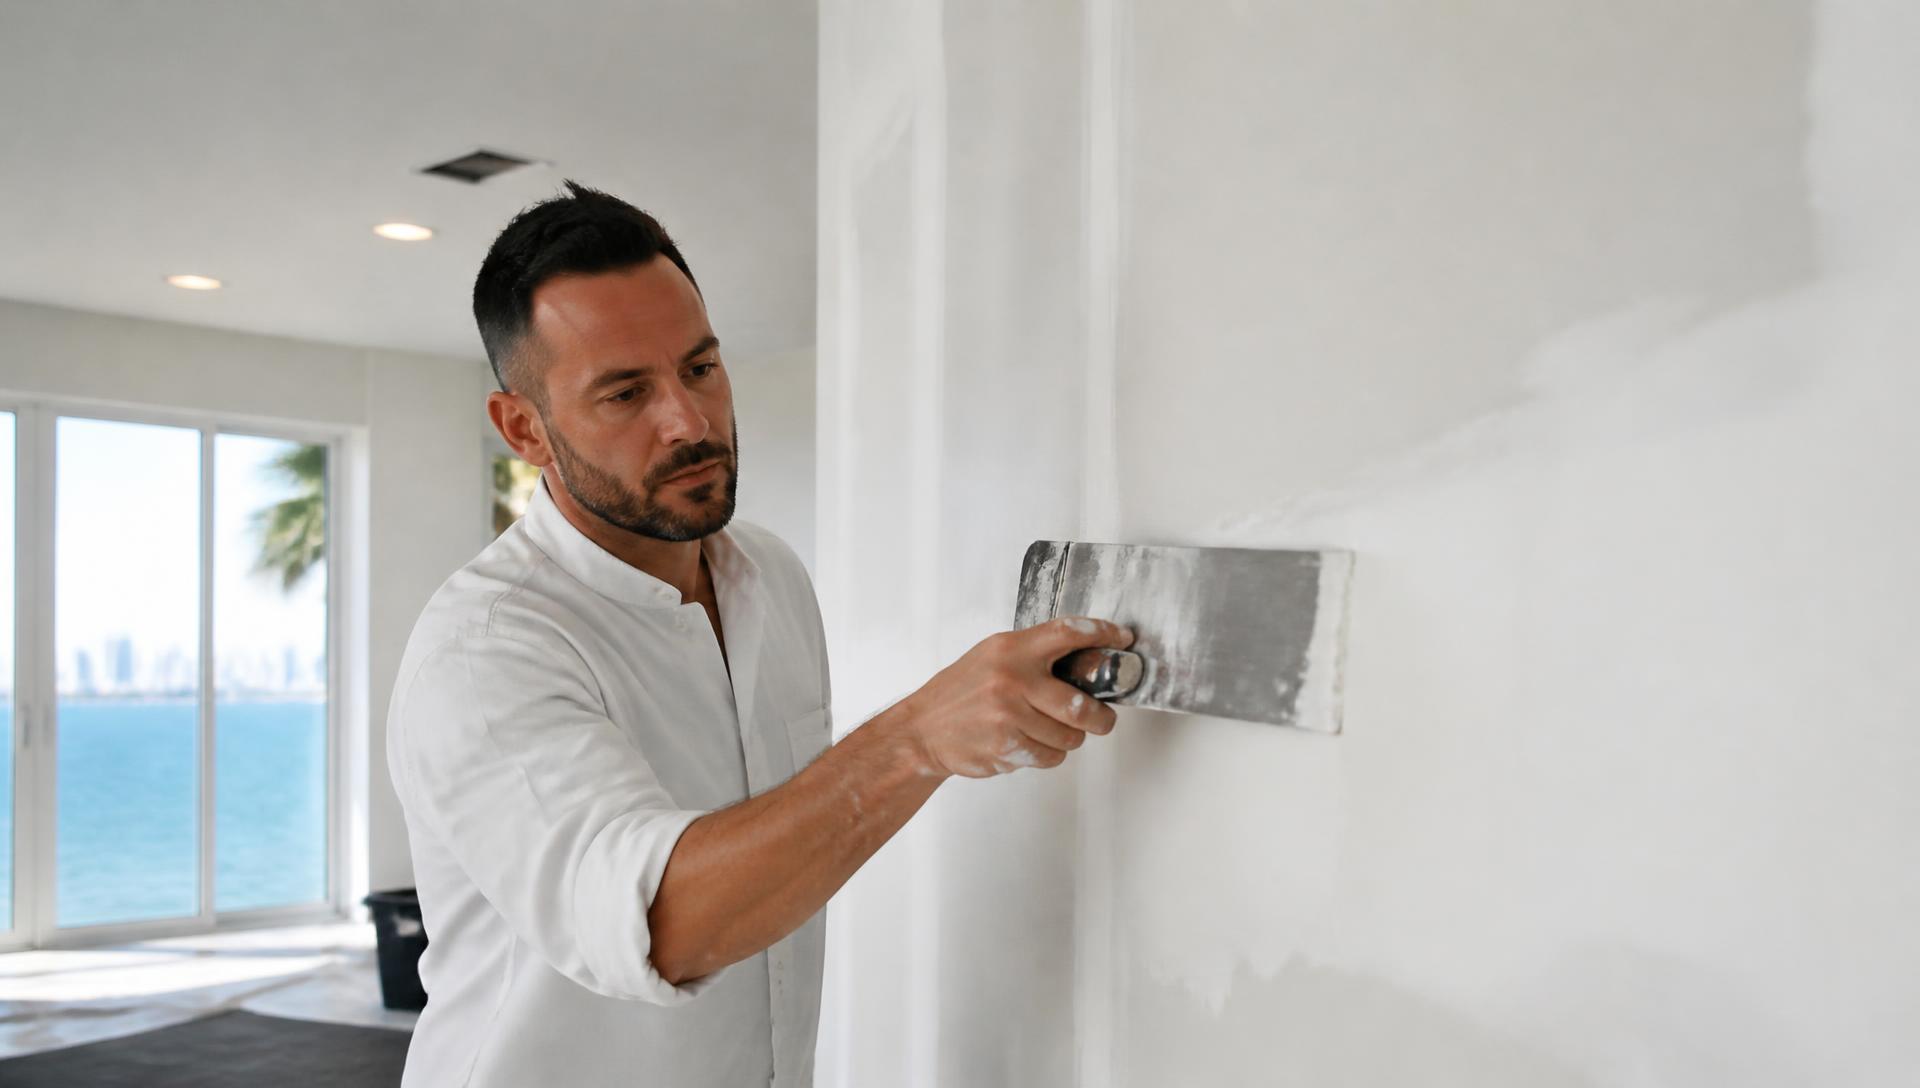
Stages
Four working stages
- 01
Describe
Share the damage through the Assistant, or call directly.
- 02
Assess
Cause, moisture, board thickness, and texture type identified.
- 03
Repair
Cut, back, tape, and build coats with drying time between.
- 04
Finish
Texture matched, sanded, dust removed, paint-ready.
Detail
Why the layers matter
A repair is visible for two reasons: it sits proud of the wall, or its texture differs from what surrounds it. Wide, thin coats solve the first. Sampling and fading the texture solves the second. Everything in this sequence serves one of those two goals.
Humidity in South Florida also changes how compound dries, so drying time is planned into the schedule rather than rushed.
Patch layers
Cut & backing
Square the opening, add solid backing behind the edges.
Drywall insert
Fit a same-thickness board flush with the surrounding face.
Tape & bed
Embed tape, then bed coat over the joint.
Fill & feather
Two wider coats, each feathered past the last.
Texture & prep
Match surrounding texture, sand, and dust for paint.
Diagram is a simplified concept, not a specification.
Photo gallery
Before / after photo pairs
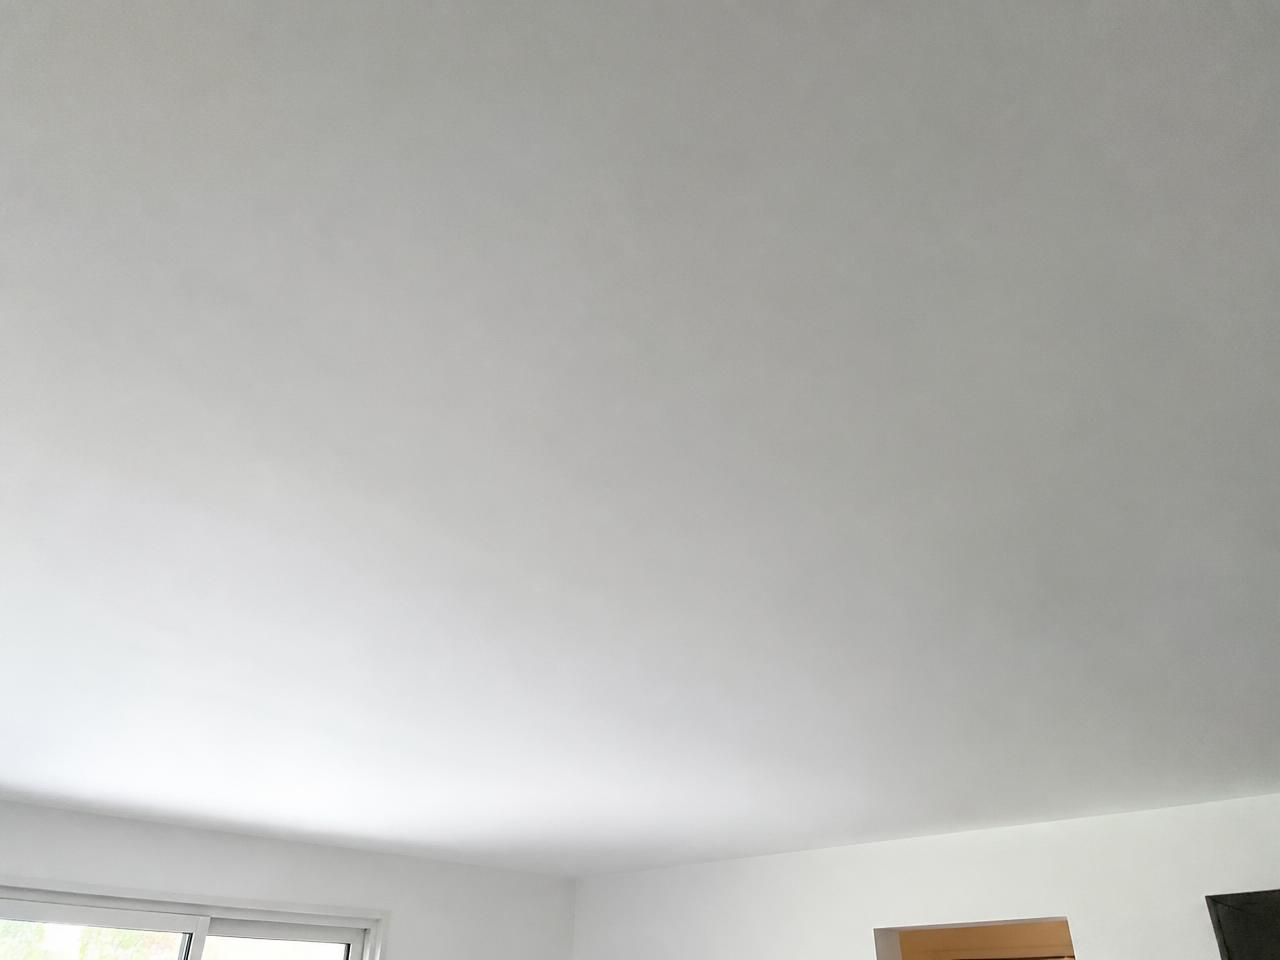
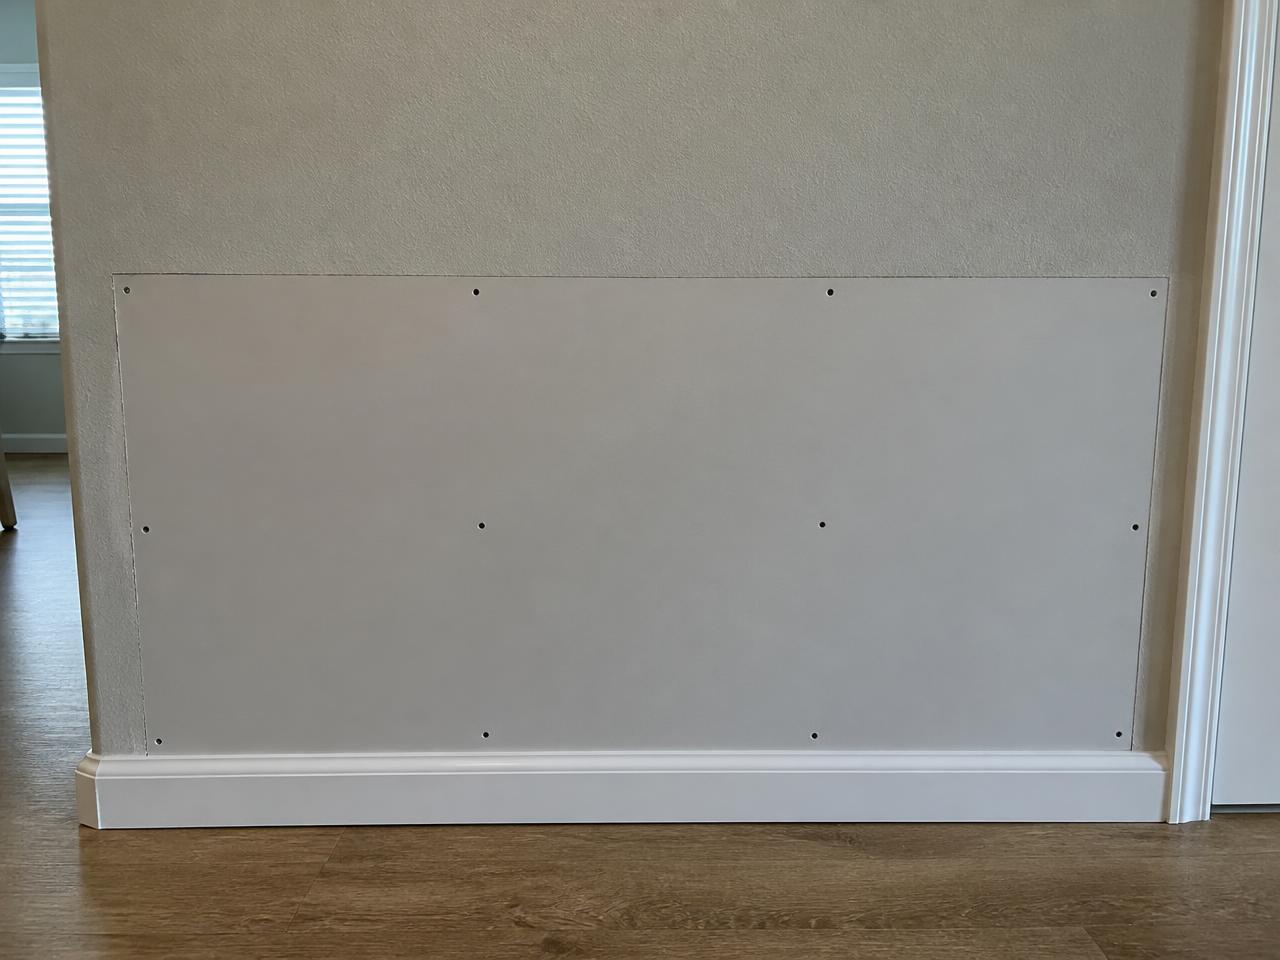
Five paired photos showing the kind of condition change drywall work targets. Every image below is an illustrative photo, not a completed customer project.
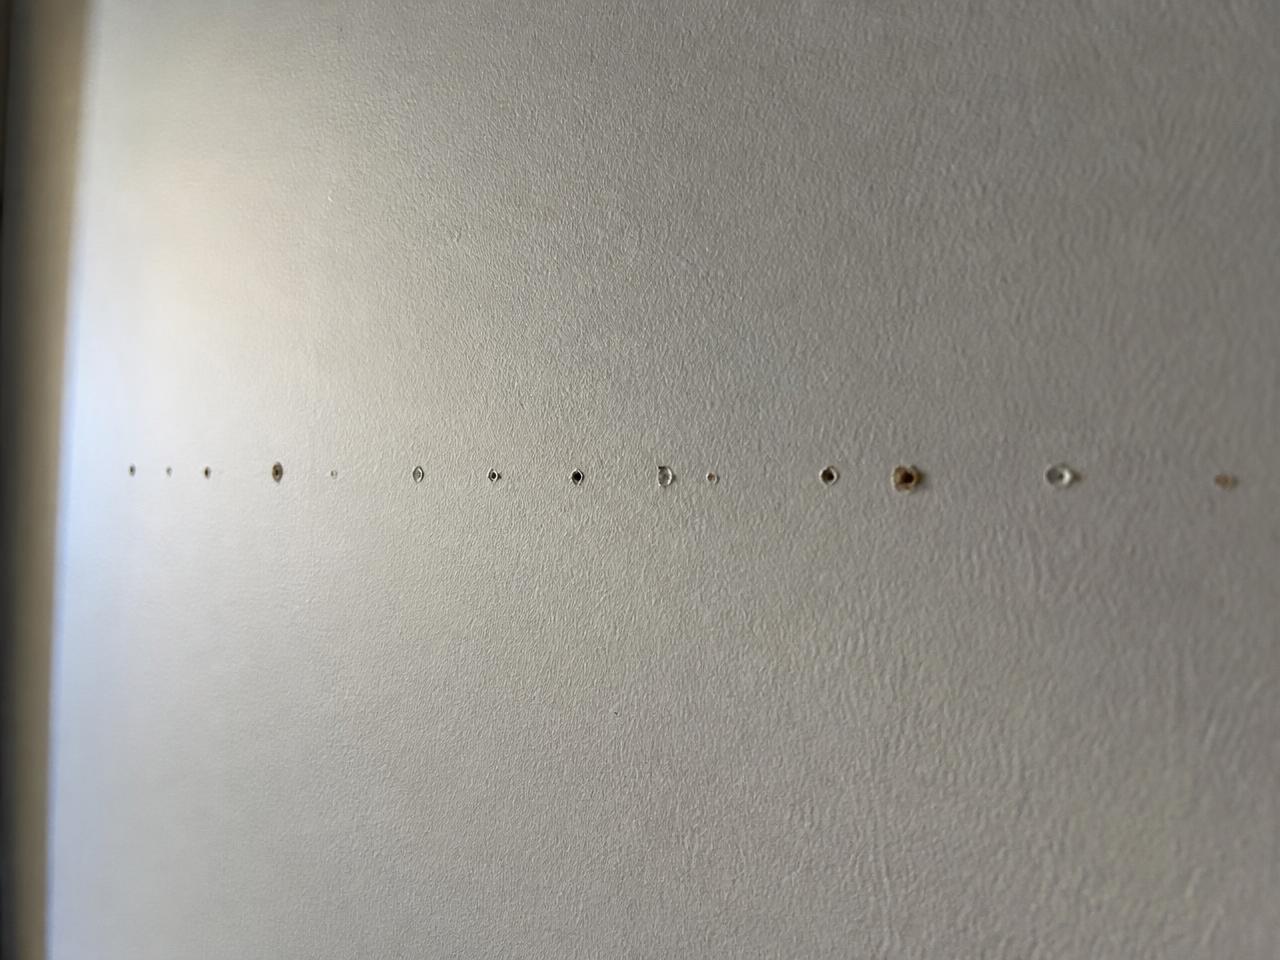 Before
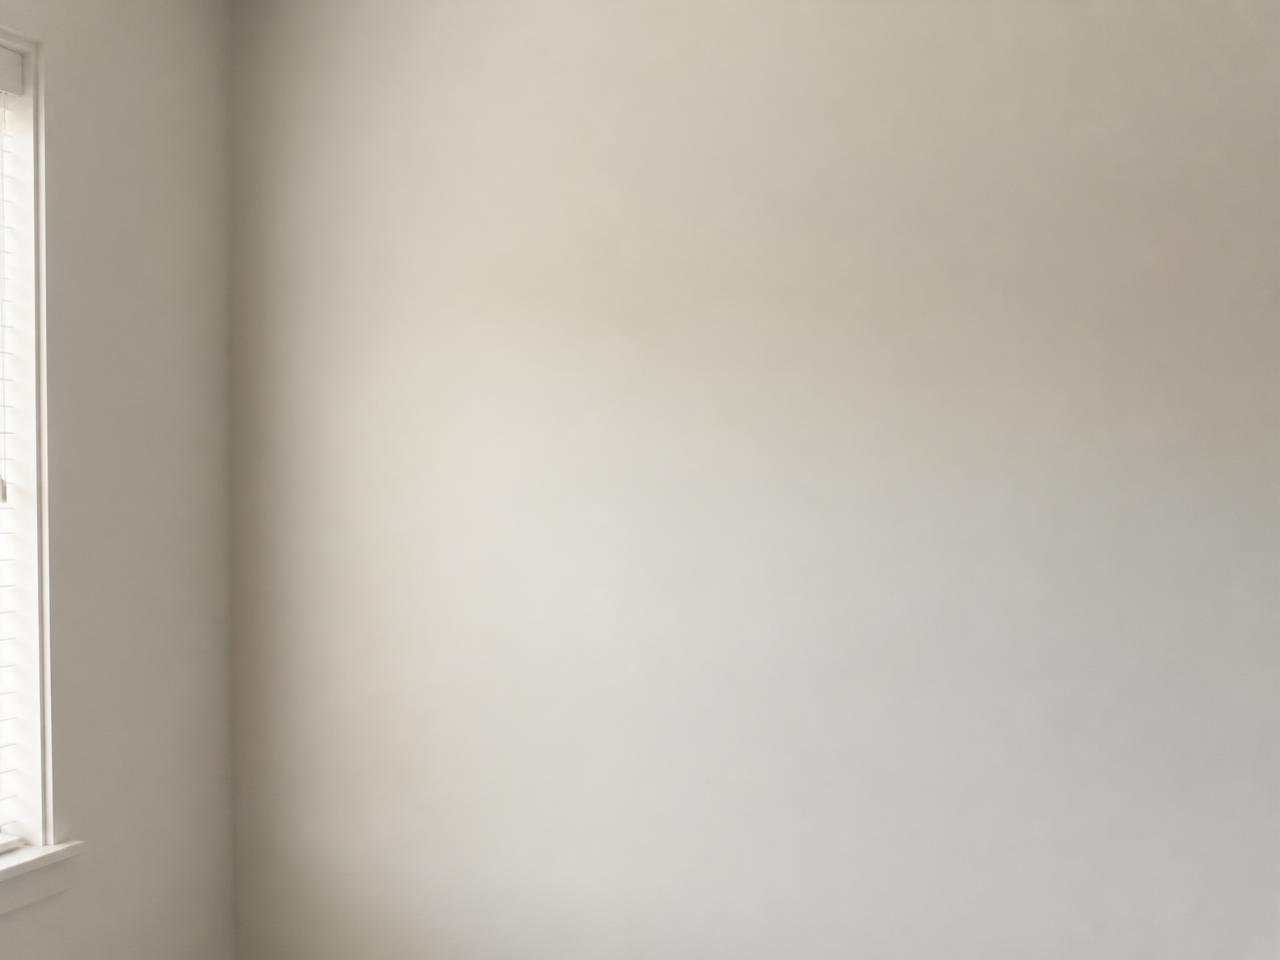 After
After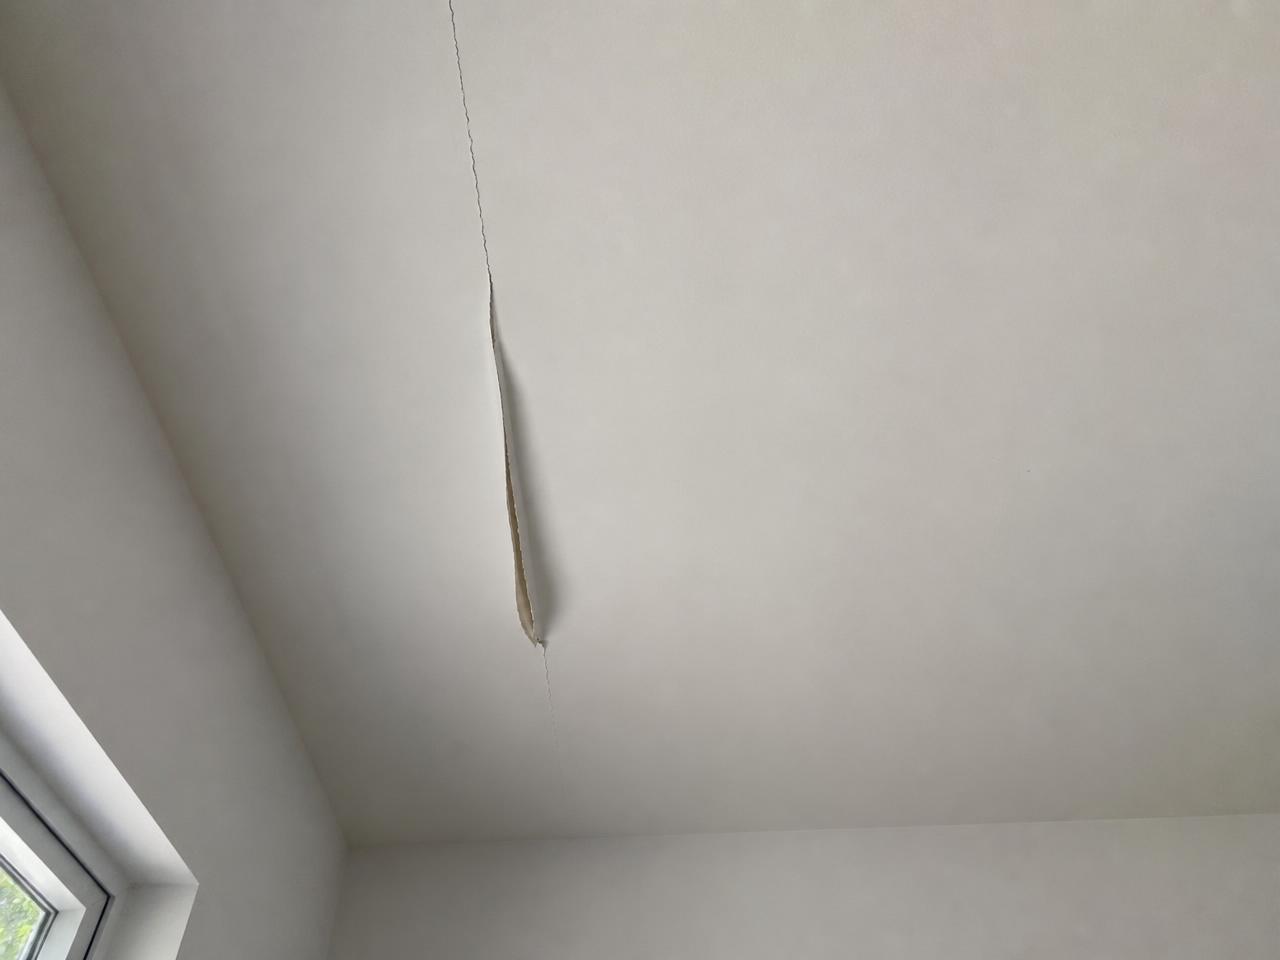 Before
 After
After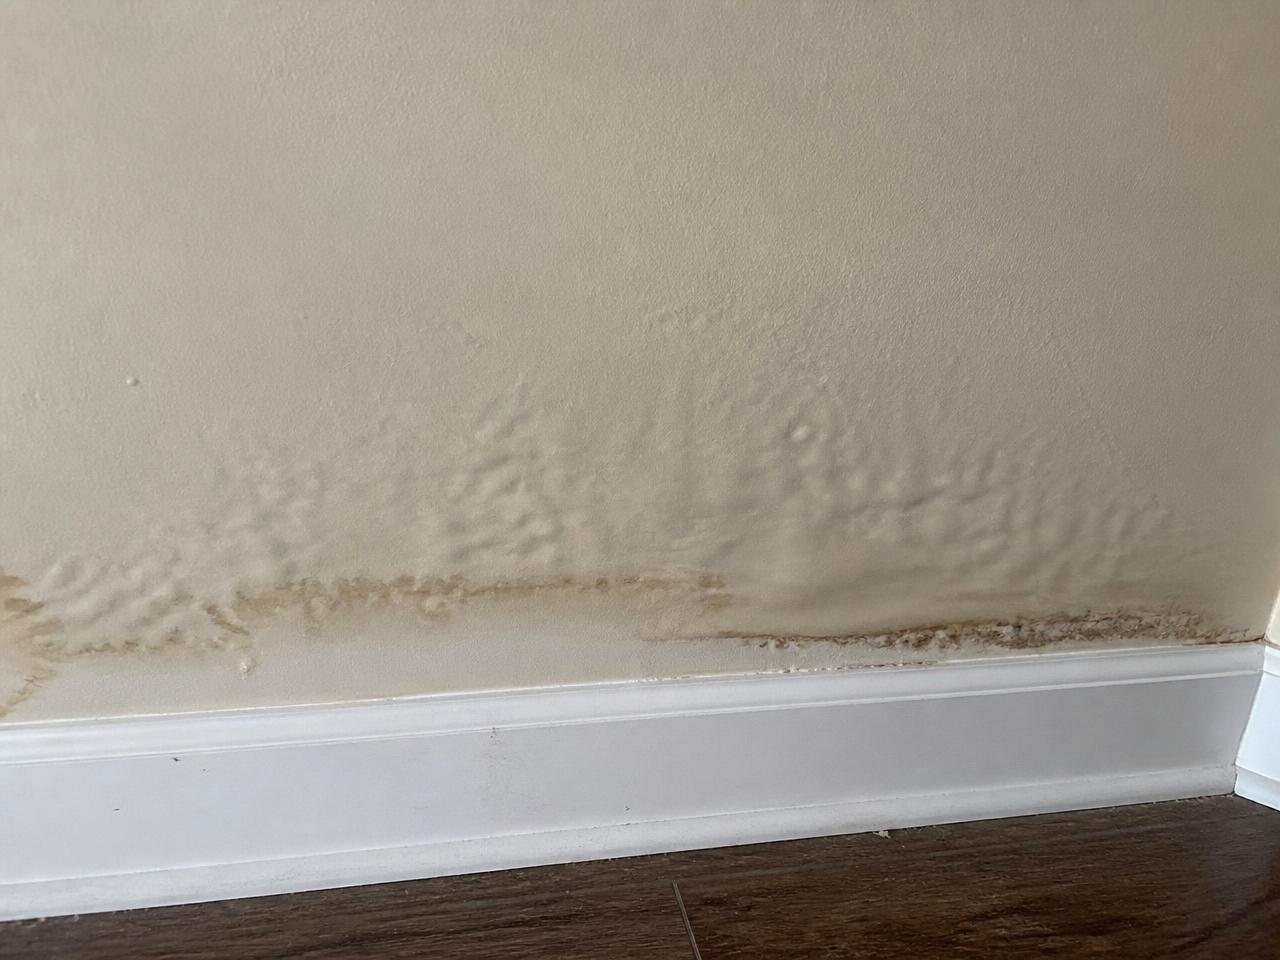 Before
 After
After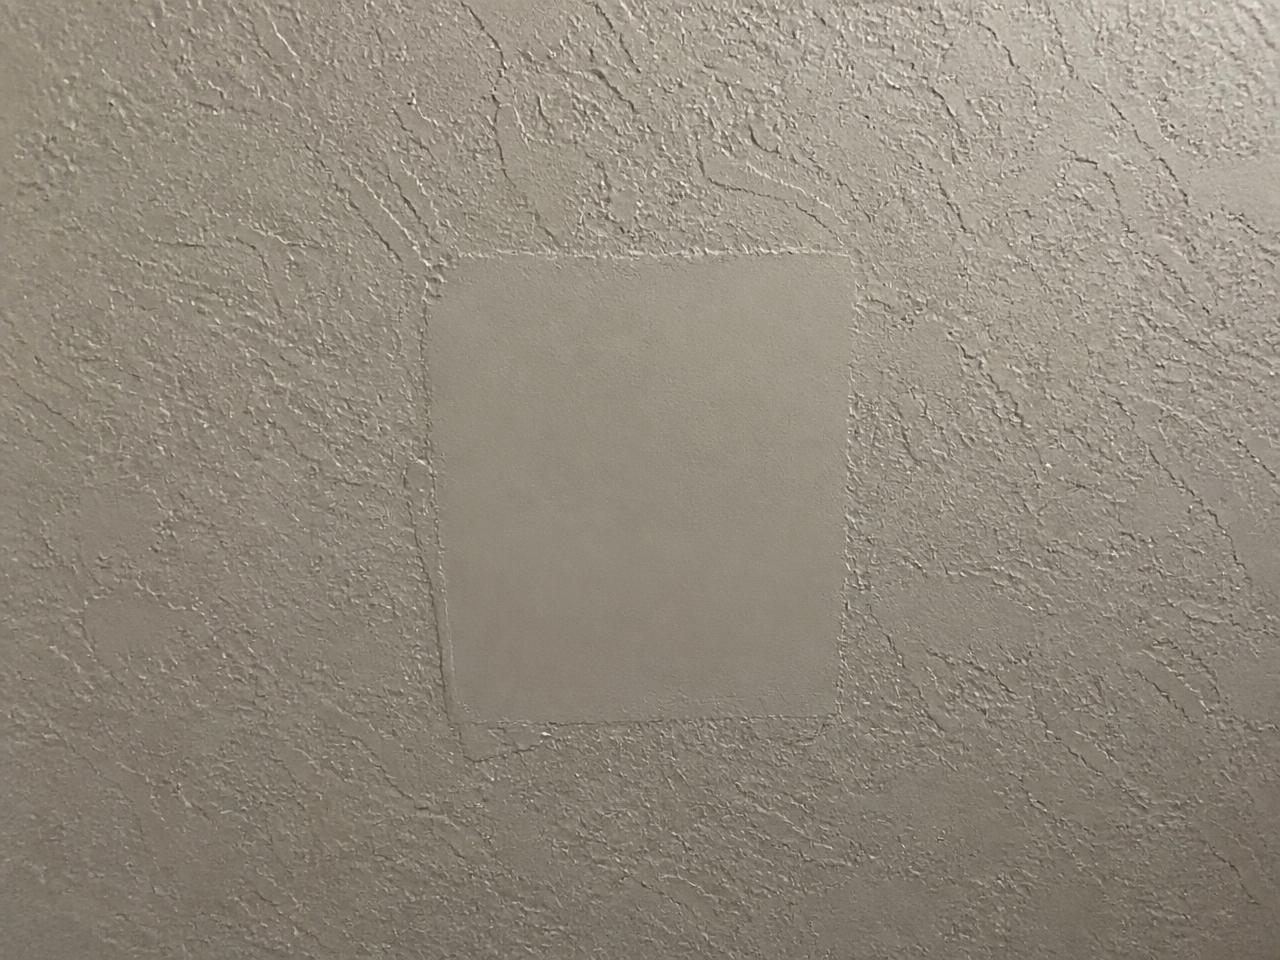 Before
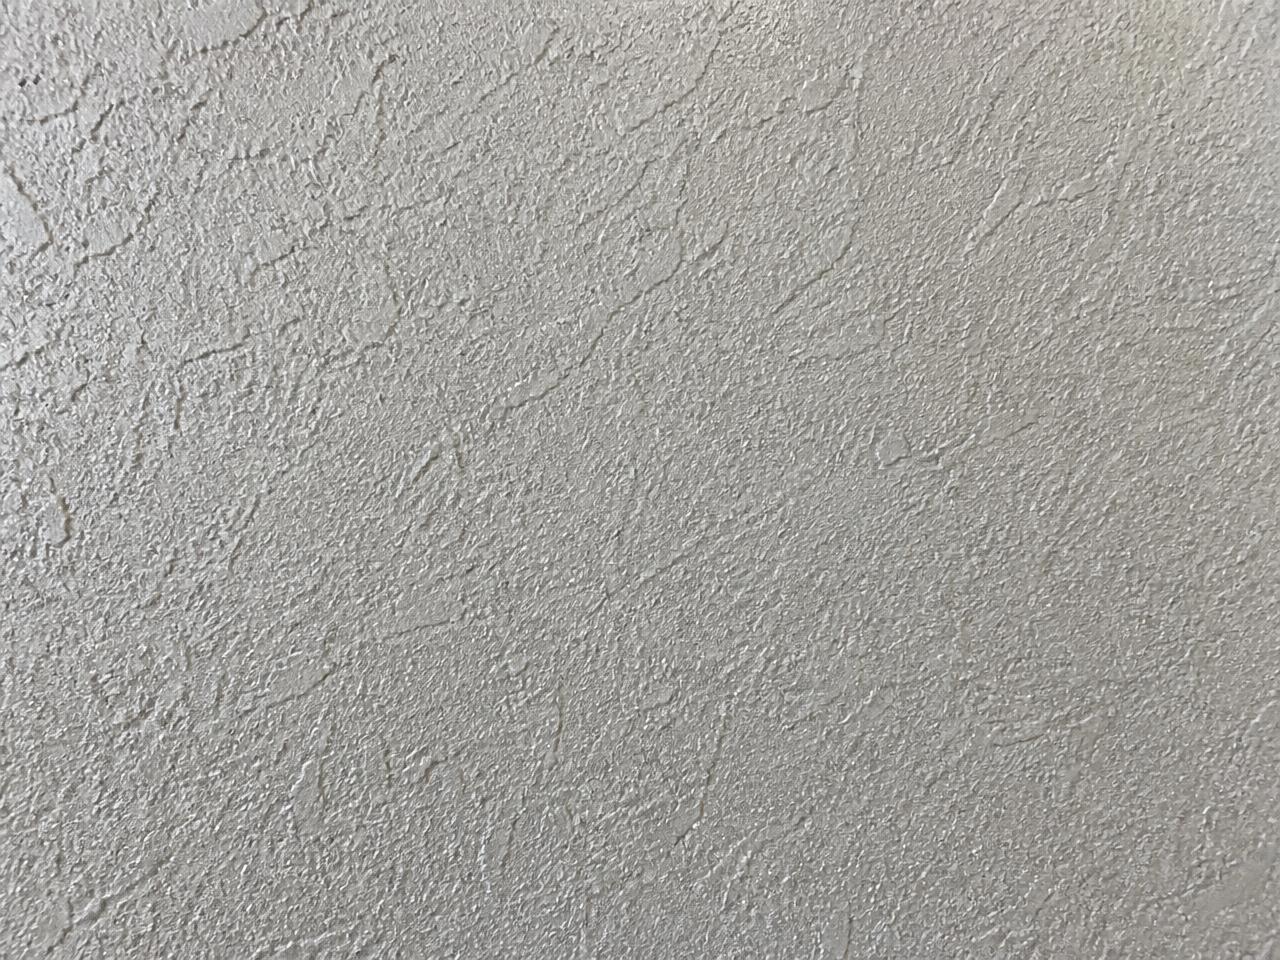 After
After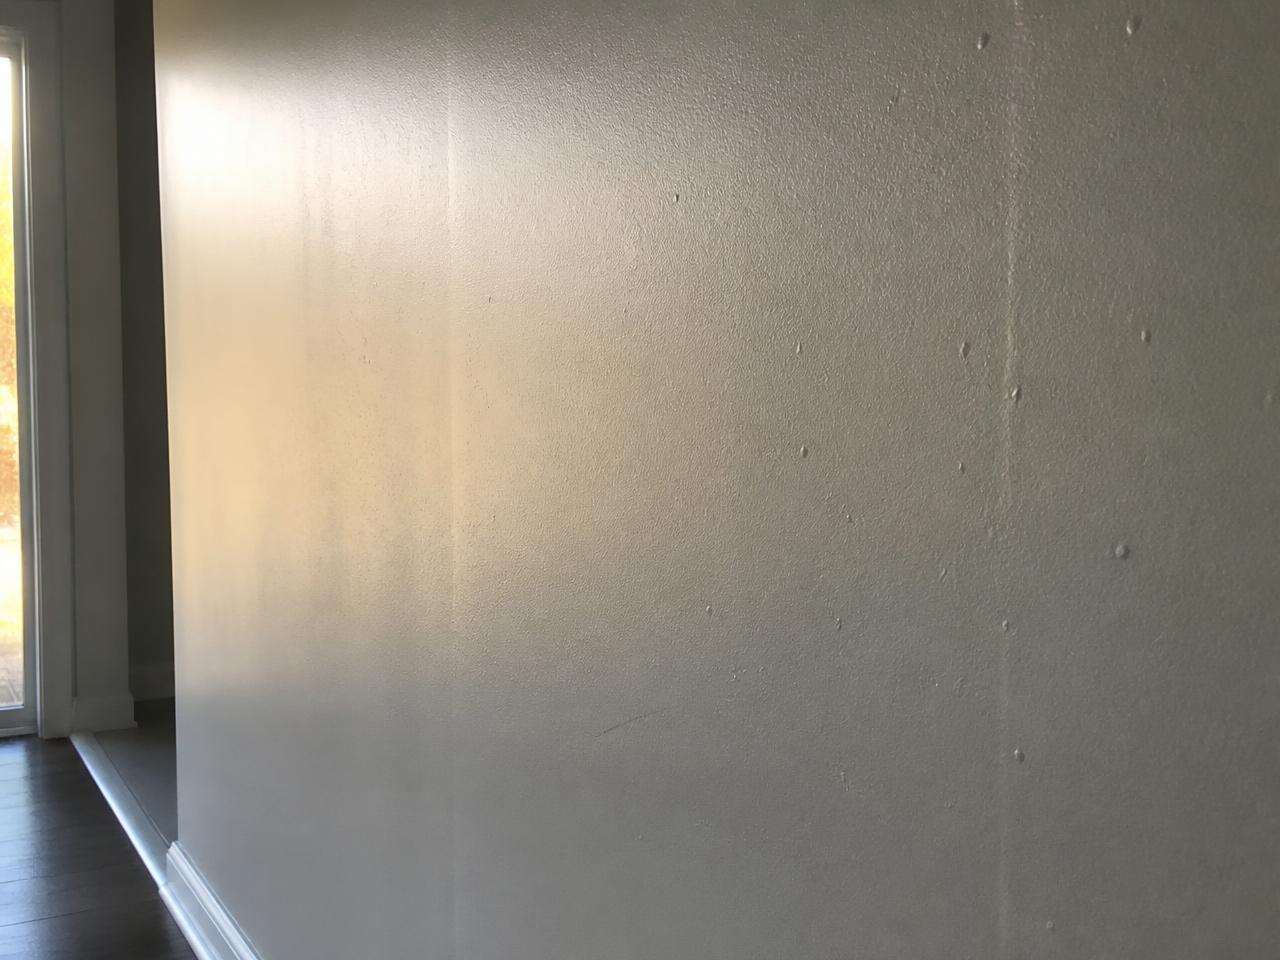 Before
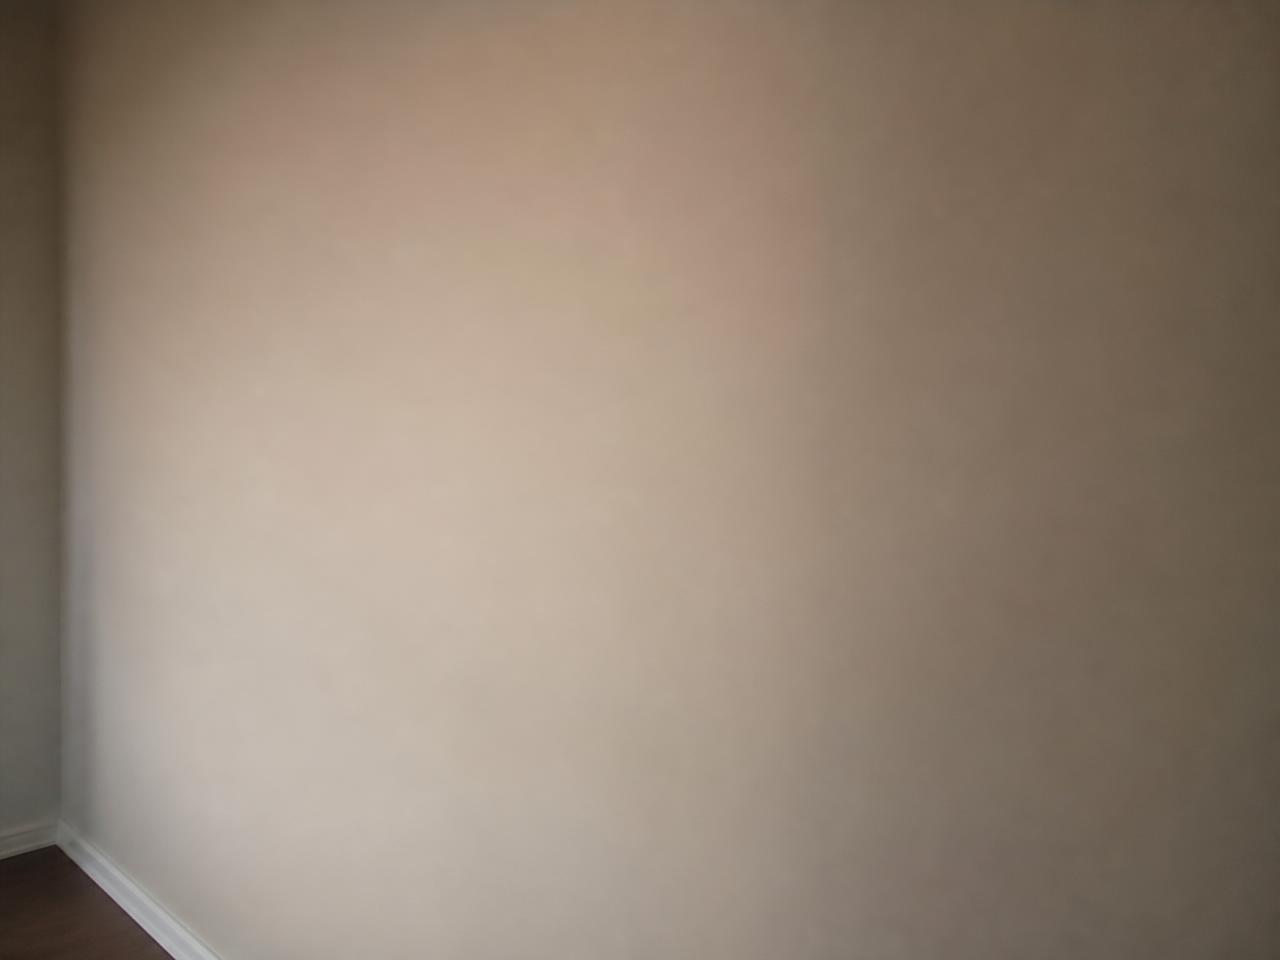 After
AfterQuestions
Frequently asked
- How does the first step work?
- Open the Assistant on any page and describe the damage. Estimates, questions and scheduling all run through that one panel; nothing is stored or submitted anywhere else on this site.
- Why does a repair take multiple visits sometimes?
- Compound needs to dry between coats. Small patches can finish in one visit; larger replacements and skim coats usually need drying time between layers.
- How is dust managed inside an occupied home?
- Work areas are contained, floors and openings are covered, and sanding dust is vacuumed and wiped before the area is handed back.
Ready to get it patched?
Describe the damage in the Assistant and it will handle estimates and scheduling. Direct calls are welcome too.
Serving Miami-Dade County, Florida